

Welcome to the Singer Start Sewing Machine Manual! This guide helps beginners and hobbyists master the Singer Start 1304 and 1306 models. Discover features, setup, and operation tips for effortless sewing experiences.
1.1 Overview of the Singer Start 1304 and 1306 Models
The Singer Start 1304 and 1306 are versatile, user-friendly sewing machines designed for beginners and hobbyists. Both models offer essential features like straight and zigzag stitches, with the 1306 including additional stitch patterns. They are lightweight, portable, and easy to operate, making them ideal for learning and completing small to medium sewing projects efficiently.
1.2 Key Features and Benefits of the Singer Start Series
The Singer Start series offers a variety of stitch patterns, automatic tension, and easy threading. These machines are designed for simplicity, making them perfect for beginners. Their lightweight design and portability enhance convenience, while the included accessories ensure versatility for different sewing tasks. The Start series provides a reliable and efficient sewing experience, ideal for both learning and completing everyday projects with ease.
Safety Instructions for Using the Singer Start Sewing Machine
Always follow basic safety precautions when using the Singer Start 1304 and 1306 models. Ensure compliance with IEC/EN 60335-2-28 and UL1594 standards, and keep children supervised.
2.1 General Safety Precautions
Always follow essential safety guidelines to ensure safe operation. Keep the machine away from water and avoid using it near flammable materials. Never leave the machine unattended while in use, and ensure children do not operate it without adult supervision. Avoid wearing loose clothing that could get caught in moving parts. Regularly inspect the machine for damage and ensure proper ventilation during use.
2.2 Compliance with International Safety Standards
The Singer Start sewing machine adheres to global safety regulations, including IEC/EN 60335-2-28 and UL1594. These certifications ensure the machine meets rigorous standards for electrical safety and operational reliability. Compliance with these standards guarantees a secure sewing experience, minimizing risks of electrical hazards and mechanical failures.
Unboxing and Initial Setup of the Singer Start Sewing Machine
Welcome to the unboxing and setup guide for your Singer Start sewing machine! Discover the ease of unpacking and preparing your machine for its first use, ensuring a smooth start to your sewing journey.
3.1 What’s Included in the Box
Your Singer Start sewing machine box includes the machine, bobbins, needles, presser feet (zigzag and buttonhole), a seam ripper, and a dust cover. Also included are the power cord, instruction manual, and a variety of accessories to get you started with your sewing projects.
3.2 Step-by-Step Setup Guide
Start by unboxing and placing the machine on a sturdy surface. Attach the sewing head securely and insert the bobbin according to the manual. Choose the correct needle and thread the machine as instructed. Plug in the power cord, ensure the presser foot is up, and test the machine with a scrap fabric to ensure proper operation.
Understanding the Parts and Components
Identify key parts like the bobbin winder, presser foot, and stitch dial. Understand their functions to operate the Singer Start sewing machine effectively for various stitching tasks.
4.1 Identification of Key Parts and Accessories
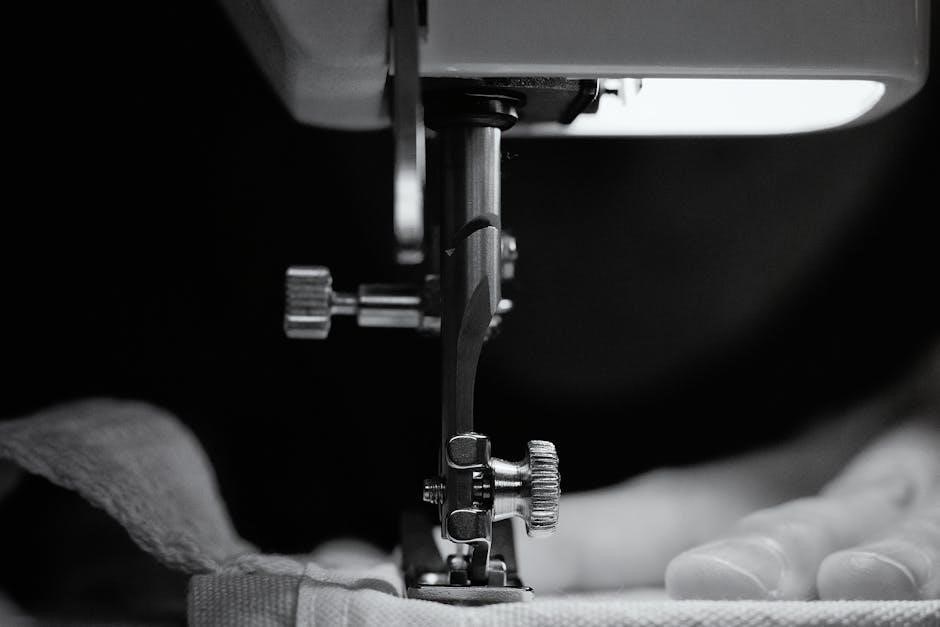
The Singer Start sewing machine features essential components like the bobbin winder, stitch dial, presser foot, and handwheel. Accessories include needles, bobbins, and seam guides. Familiarize yourself with these parts to ensure proper machine operation. Understanding each component’s function will help you navigate stitching, threading, and maintenance tasks efficiently.
4.2 Exploring the Stitch Selection and Dial Controls
The Singer Start sewing machine offers six built-in stitch patterns, including straight, zigzag, satin, blind hem, scallop, and a 4-step buttonhole. The stitch selection dial allows easy switching between patterns. Simply turn the dial to choose your desired stitch, and the machine will adjust accordingly. This feature enables versatile sewing options, from basic repairs to decorative projects, with precise control over stitch selection.

Threading the Machine and Adjusting Tension
Proper threading and tension adjustment are crucial for optimal stitching. Follow the step-by-step guide to thread the machine correctly and ensure even fabric flow.
5.1 Step-by-Step Guide to Threading the Machine
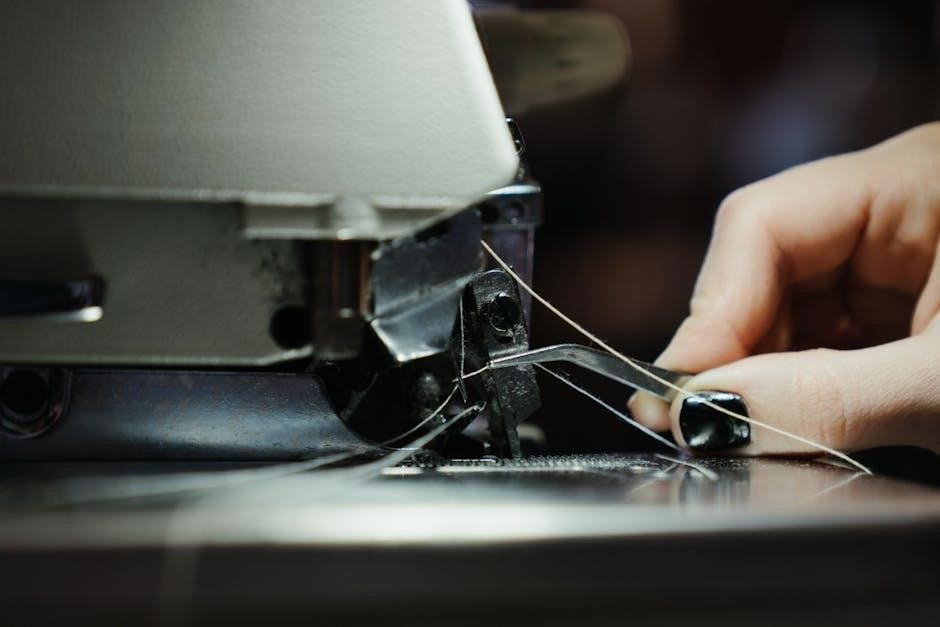
Place the spool on the spool pin and pull thread through the first guide. 2. Loop the thread around the take-up lever. 3. Pass it through the tension discs. 4. Pull the thread taut to set the tension. 5. Insert the thread into the bobbin. Follow these steps to ensure proper threading for smooth stitching.
5.2 How to Adjust Thread Tension for Optimal Stitching
Turn the thread tension dial to balance upper and lower thread. Test stitches on scrap fabric. Tighten the dial for denser stitches or loosen for lighter ones. Ensure even tension to prevent fabric puckering or loose stitching. Adjust in small increments, then retest. Proper tension ensures consistent stitching quality. Refer to the manual for specific dial settings if issues persist.
Basic Sewing Operations
Master straight stitching, selecting stitch patterns, and managing fabric flow. The Singer Start series offers ease of use for beginners, ensuring precise and professional results.
6.1 Sewing Straight Stitches
To sew straight stitches, set the machine to the straight stitch option. Place fabric under the presser foot, aligning the edge with the seam guide. Lower the presser foot, then gently press the foot controller to begin sewing. Maintain steady fabric flow for consistent results. Adjust stitch length if needed for different fabric types or seams.
6.2 Selecting and Using Different Stitch Patterns
The Singer Start series offers various stitch patterns, including straight, zigzag, satin, blind hem, and scallop stitches, plus a 4-step buttonhole. To select a pattern, rotate the stitch selection dial to your desired option. Adjust the stitch length and width using the controls for optimal results on different fabrics. This versatility allows you to tackle various sewing projects with ease and precision.
Troubleshooting Common Issues
This section addresses common issues with the Singer Start sewing machine, offering practical solutions for thread tension, stitch length, and fabric puckering problems effortlessly.
7.1 Common Problems and Their Solutions
Common issues with the Singer Start sewing machine include incorrect thread tension, uneven stitch length, and fabric puckering. Solutions involve adjusting tension dials, realigning fabric, and using appropriate needles. Regular maintenance, such as cleaning and oiling, prevents mechanical faults. Refer to the troubleshooting guide for step-by-step fixes to ensure optimal performance and stitch quality.
7.2 Tips for Maintaining Stitch Quality
To ensure consistent stitching, use the correct needle type for your fabric. Adjust stitch length and width according to fabric thickness. Properly thread the machine and maintain even tension. Avoid pulling fabric while sewing. Regularly clean and oil the machine to prevent dust buildup. These practices will help maintain precise stitching and extend the machine’s lifespan.
Accessories and Optional Equipment
Explore Singer-approved accessories like extension tables, hoops, and frames to enhance your sewing experience. Genuine Singer parts ensure optimal performance and durability for your machine.
8.1 Recommended Accessories for Enhanced Sewing
Enhance your sewing experience with Singer-approved accessories. An extension table provides extra workspace, while embroidery hoops and frames simplify intricate designs. Additional spool pins, scissors, and sewing notions ensure versatility. These accessories are designed to optimize performance and durability, helping you achieve professional results with ease. Invest in genuine Singer parts for reliable and long-lasting use.
8.2 Where to Find Genuine Singer Parts and Accessories
Genuine Singer parts and accessories are available through Singer’s official website and authorized dealers. Visit SingerOnline.com for a wide range of products, including extension tables, hoops, and spool pins. Ensure authenticity and quality by purchasing directly from trusted sources, avoiding counterfeit items for optimal performance and longevity of your Singer Start sewing machine.
Maintenance and Care Tips
Regularly clean and oil your Singer Start sewing machine to ensure smooth operation. Dust and lint can affect performance, so maintain it after each use for longevity.
9.1 Regular Maintenance Routine
Regular maintenance ensures optimal performance of your Singer Start sewing machine. Clean the machine thoroughly after each use, removing dust and lint from the bobbin area and tension discs. Lightly oil the moving parts as recommended to prevent rust and friction. Check the needle and bobbin for damage, replacing them if necessary. Proper care extends the machine’s lifespan and maintains stitch quality.
9.2 Cleaning and Oiling the Machine
Regular cleaning and oiling are essential for maintaining your Singer Start sewing machine. Use a soft brush to remove lint and debris from the bobbin area, tension discs, and shuttle hook. Apply a few drops of sewing machine oil to moving parts, such as the shuttle hook and bearings, to ensure smooth operation. Avoid over-oiling, as it may attract dust. Clean and oil after every heavy use to keep the machine running efficiently.
Frequently Asked Questions (FAQs)
What are the basic maintenance tips? How do I resolve thread tension issues? Find answers to common queries about the Singer Start series for smooth sewing experiences.
10.1 Common Queries About the Singer Start Series
Users often ask about threading techniques, stitch selection, and tension adjustment. Troubleshooting issues like uneven stitches or bobbin problems is also common. Additionally, queries about maintenance, oiling, and where to find genuine parts are frequently raised to ensure optimal performance and longevity of the Singer Start sewing machine.
10.2 Where to Find Additional Support and Resources
For additional support, visit Singer’s official website for digital manuals, FAQs, and troubleshooting guides. You can also contact Singer’s customer service or authorized dealers for assistance. Online forums and sewing communities offer tips and advice from experienced users, ensuring comprehensive support for your Singer Start sewing machine needs.
The Singer Start Sewing Machine Manual provides a comprehensive guide for models 1304 and 1306, ensuring a smooth sewing experience. With its user-friendly design and versatile features, this machine is perfect for both beginners and hobbyists. Explore creative projects with confidence, knowing you have reliable resources and support at your fingertips.
11.1 Summary of the Singer Start Sewing Machine Manual
The Singer Start Sewing Machine Manual offers a comprehensive guide for models 1304 and 1306, covering setup, operation, and maintenance. It provides detailed instructions for threading, stitching, and troubleshooting, ensuring optimal performance. With clear safety guidelines and creative project encouragement, this manual empowers users to master sewing basics and explore advanced techniques with confidence and precision.
11.2 Encouragement to Explore Creative Sewing Projects
Congratulations on mastering the Singer Start Sewing Machine! With its versatile features, you’re ready to explore creative projects. From crafting home decor to designing custom clothing, the Singer Start empowers you to bring your ideas to life. Whether you’re a beginner or an experienced sewer, this machine invites you to experiment, innovate, and create something truly unique. Happy sewing!