
Pfister shower valves are known for their durability and stylish design, offering precise temperature control and water flow. Proper installation ensures optimal performance, safety, and longevity, making it crucial to follow detailed instructions and guidelines carefully.
1.1. Overview of Pfister Shower Valves
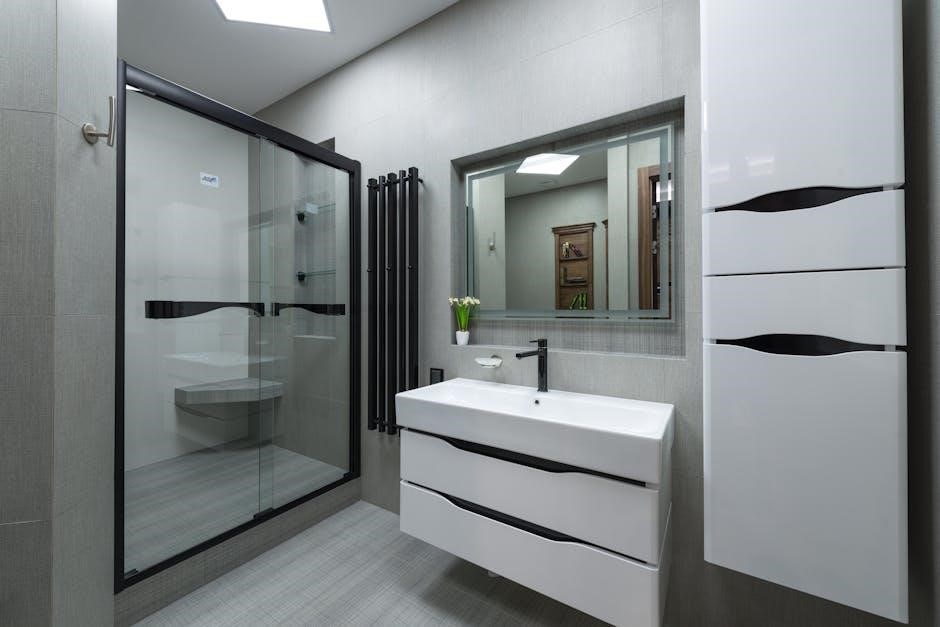
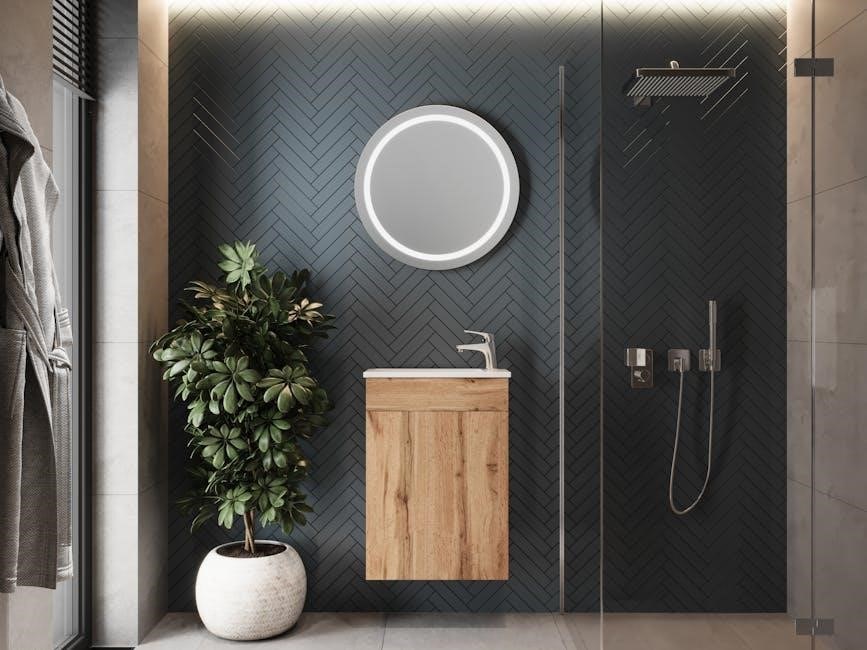
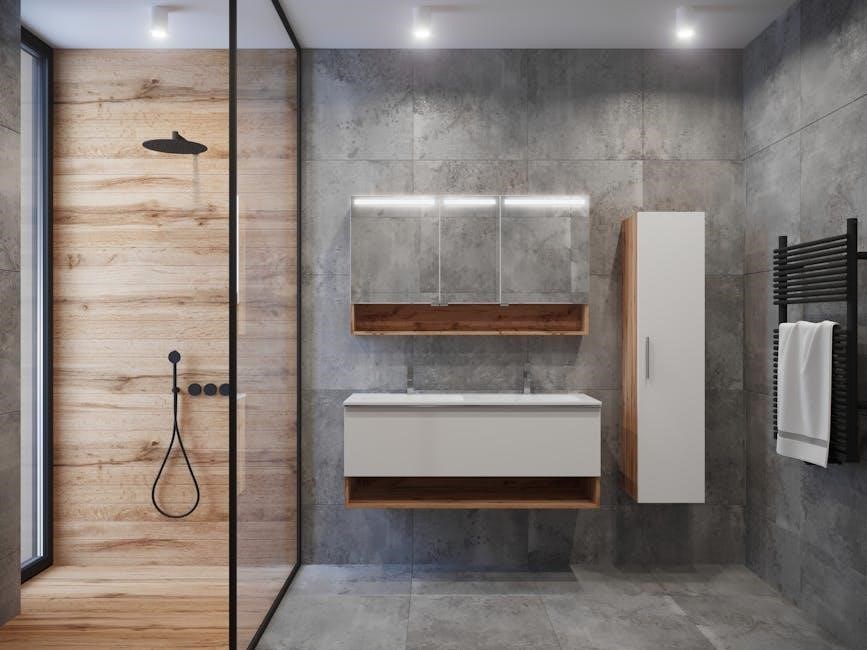
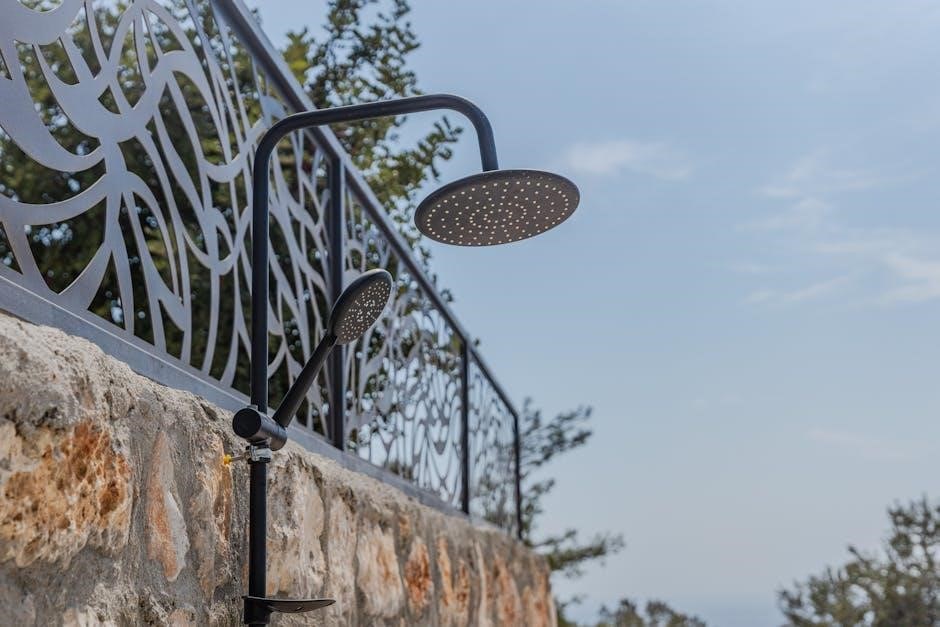
Pfister shower valves are renowned for their durability, stylish design, and advanced features. They offer precise temperature control and water flow management, making them a popular choice for modern bathrooms. Pfister valves are available in various styles, including single-handle and multi-handle configurations, to suit different aesthetic preferences and plumbing needs. Many models feature ceramic disc valves for smooth operation and long-lasting performance. Additionally, Pfister shower valves often include anti-scald technology to prevent sudden water temperature fluctuations, ensuring a safe and comfortable showering experience. These valves are designed to be compatible with a wide range of shower systems, including tub-and-shower combinations and standalone showers. With their robust construction and sleek finishes, Pfister shower valves are both functional and elegant, enhancing the overall appeal of your bathroom. Their reliability and ease of use make them a preferred option for homeowners and professionals alike. Whether you’re looking for a simple replacement or a complete upgrade, Pfister shower valves offer a blend of innovation, quality, and style.
1.2. Importance of Proper Installation
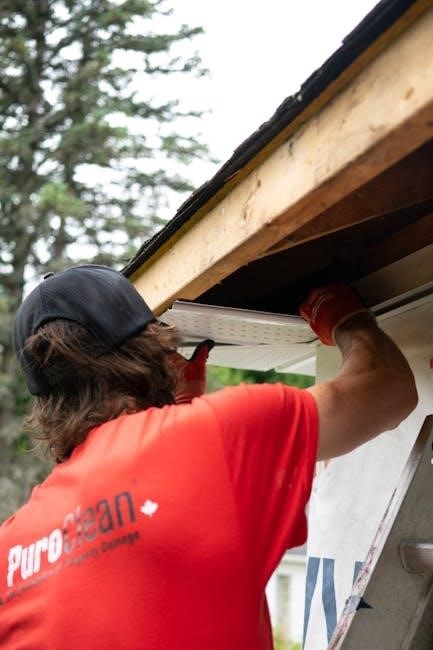
Proper installation of a Pfister shower valve is crucial to ensure optimal performance, safety, and longevity of the fixture. A well-installed valve prevents leaks, which can lead to water damage, mold growth, and higher water bills over time. Incorrect installation may result in improper temperature control, uneven water pressure, or even complete system failure. Moreover, a properly installed shower valve ensures compliance with safety standards, reducing the risk of scalding or other accidents. It also maintains the aesthetic appeal of your bathroom, as a correctly fitted valve will align seamlessly with the surrounding design. Additionally, proper installation preserves the warranty offered by Pfister, as any defects caused by improper fitting may void the coverage. A professional installation ensures a smooth and reliable operation, enhancing the overall showering experience. By following the manufacturer’s guidelines and taking the time to install the valve correctly, you can enjoy years of trouble-free service from your Pfister shower valve.
Tools and Materials Needed
The installation requires an adjustable wrench, pliers, Allen wrench, screwdriver, Teflon tape, bucket, and needle-nose pliers. Materials include the new Pfister shower valve, mounting hardware, O-rings, gaskets, water supply lines, and silicone-based lubricant for proper sealing and installation.
2.1. Essential Tools for Installation
Installing a Pfister shower valve requires specific tools to ensure a smooth and successful process. Start with an adjustable wrench for gripping and turning large components like the valve body. Pliers, including needle-nose and slip-joint varieties, are essential for reaching tight spaces and gripping small parts. An Allen wrench set is necessary for handling hexagonal bolts and fittings. A screwdriver, both flathead and Phillips, will be needed for removing old handles and trim. Teflon tape is crucial for creating watertight seals on threaded connections. Additionally, a bucket or container is handy for catching water during disconnection. A drain assembly wrench may be required for certain Pfister models. For tougher connections, a breaker bar can provide extra leverage. Finally, silicone-based lubricant ensures smooth operation of moving parts. Having all these tools ready beforehand will streamline the installation process and prevent delays. Always use high-quality tools to avoid stripping screws or damaging components.
2.2. Required Materials and Components
When preparing for a Pfister shower valve installation, it is essential to gather all the necessary materials and components to ensure a seamless process. The primary component is the Pfister shower valve itself, which typically includes the valve cartridge, trim kit, and handle. Additionally, you will need a drain assembly kit, which may include a drain cover and overflow gasket, depending on your shower setup. Teflon tape is required for creating watertight seals on threaded pipe connections. O-rings or gaskets may be needed to ensure leak-free connections between the valve and surrounding fixtures. If your system requires it, a pressure-balancing cartridge may also be necessary to regulate water temperature. Finally, ensure you have any specific adapters or connectors recommended by the manufacturer for compatibility with your plumbing system. Always verify the included components in your Pfister shower valve package and consult the manufacturer’s instructions for any additional materials.
Preparing the Site for Installation
Before starting, shut off the water supply to prevent leaks. Protect the surrounding area with drop cloths to avoid damage. Ensure easy access to the shower valve by removing any hindrances. Clean the area thoroughly for a smooth installation process. Check for any existing leaks and have all tools ready.
3.1. Shutting Off the Water Supply
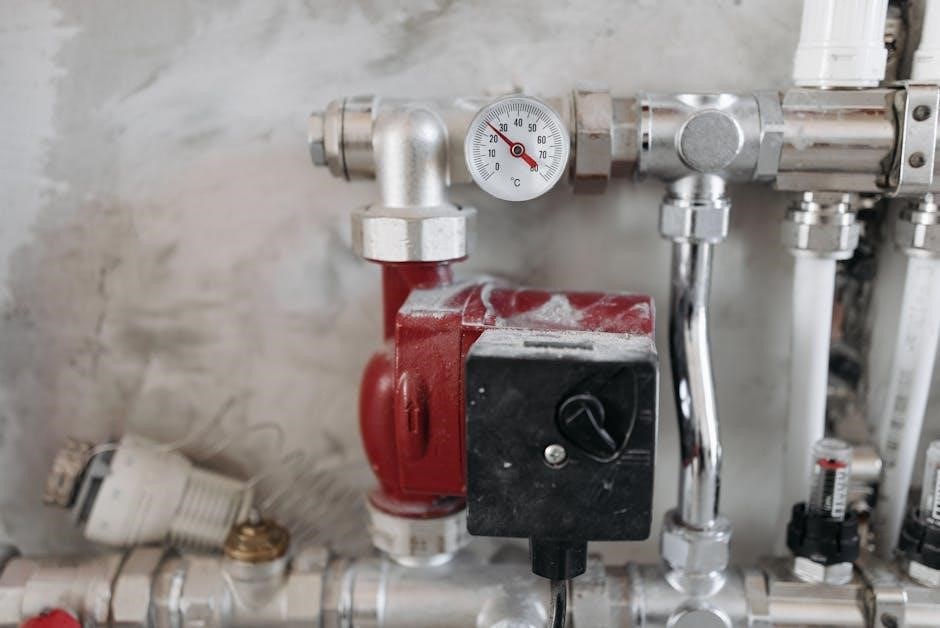
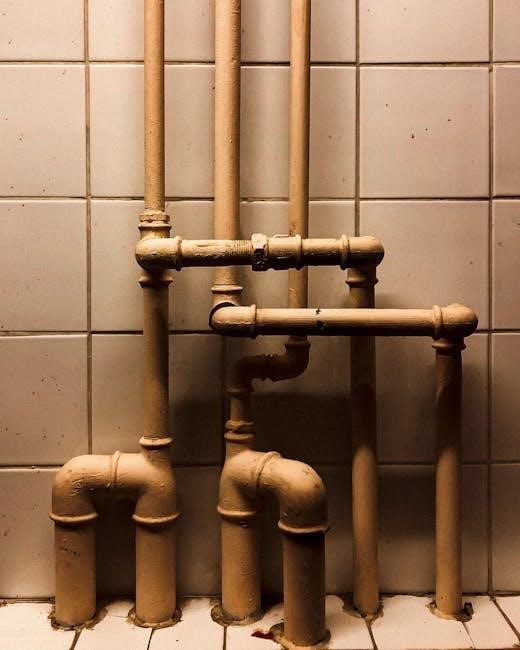
To ensure a leak-free installation, locate and shut off the water supply lines to the shower. Typically, these are found near the water heater or where the water line enters the bathroom. Turn the shut-off valves clockwise until they stop. Open the shower faucet to drain excess water from the lines. If the valves are difficult to reach or stuck, consider using a wrench for extra grip. Once the water supply is off, double-check by turning the shower faucet to confirm no water flows. If unsure about the location of the shut-off valves, consult your home’s plumbing diagram or contact a professional. Properly shutting off the water supply is crucial to avoid flooding and ensure a safe working environment during the installation process.
3.2. Protecting the Surrounding Area
Before starting the installation, protect the surrounding area from water damage, debris, and potential scratches. Cover the floor, walls, and nearby fixtures with drop cloths or plastic sheets to prevent any accidental damage. Use masking tape to secure the protective materials in place, ensuring they stay intact throughout the process. Remove any items from the shower area, such as towels, toiletries, or decorative elements, to avoid interference or damage. If working in a tiled or glass-enclosed shower, consider using adhesive-backed plastic to cover these surfaces for extra protection. Additionally, clean the area around the shower valve to remove any dirt, grime, or mildew that could interfere with the installation. Taking the time to properly protect the surrounding area will help ensure a clean and efficient installation process, preventing costly repairs or replacements later on. This step is essential for maintaining the integrity of your bathroom and making cleanup easier after the job is done.
3.3. Ensuring Access to the Shower Valve
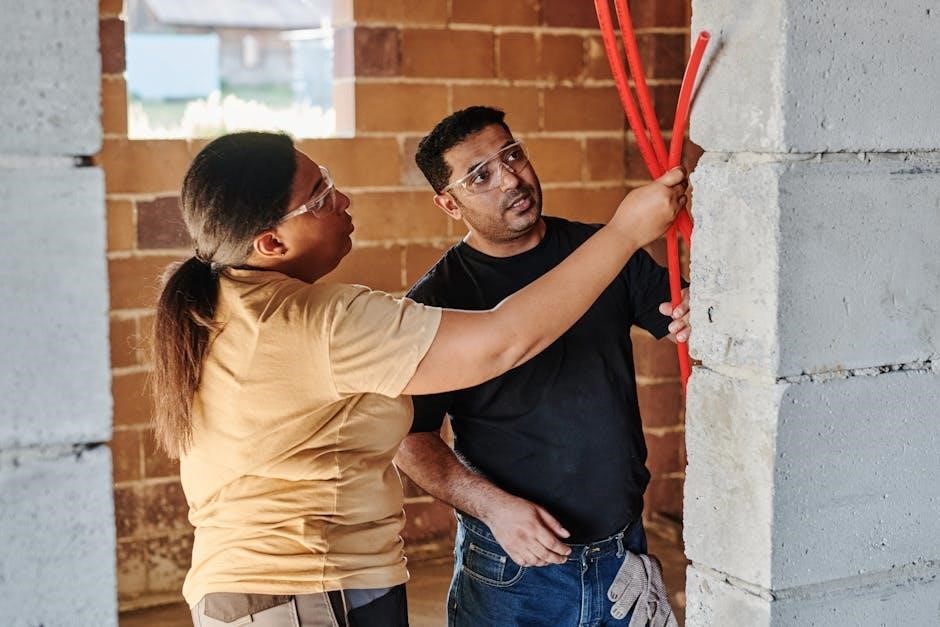
To ensure smooth installation, it is crucial to have unobstructed access to the shower valve; Begin by removing any decorative handles or trim kits that may cover the valve. Use a screwdriver or Allen wrench to take out the retaining screws holding these components in place. If the valve is recessed or behind a wall, you may need to remove the surrounding tile or drywall to access it properly. Consider using a valve access panel if the valve is located in a hard-to-reach area, such as behind a shower wall. Once access is achieved, inspect the valve and its connections for any corrosion or mineral buildup that may complicate the installation. Ensure the area around the valve is clear of debris or obstructions to allow for easy manipulation of tools and components. Proper access will save time and reduce the risk of damaging surrounding materials or the valve itself during the installation process. Always consult the manufacturer’s guidelines for specific access requirements for your Pfister shower valve model.
Removing the Old Shower Valve
Disconnect the water supply lines and drain the system. Use an adjustable wrench to loosen and remove the old valve from the wall. Carefully dismantle any remaining components, ensuring no debris is left behind. Clean the area before proceeding.
4.1. Disconnecting the Water Supply Lines
Begin by locating the shut-off valves for the hot and cold water supply lines, typically found near the water heater or under the sink. Turn both valves clockwise to shut off the water supply completely. Open the shower faucet to drain any remaining water from the lines.
Next, use an adjustable wrench to disconnect the water supply lines from the old shower valve. Place a bucket or container underneath to catch any residual water. Gently twist and pull the lines away from the valve. If the lines are corroded or stuck, apply penetrating oil and let it sit for a few minutes before attempting to remove them.
Inspect the old connections for mineral buildup or debris. Clean the ends of the supply lines with a wire brush to ensure a proper seal when reconnecting later. Be careful not to damage the threads on the valve or supply lines during the disconnection process.
Once the lines are removed, cover the open ports to prevent dust or debris from entering the system. This step is crucial to maintain water quality and ensure the new valve functions properly after installation.
4.2. Removing the Old Shower Valve
To remove the old shower valve, start by accessing the valve from behind the shower wall. If you don’t have an access panel, you may need to cut into the wall to reach the valve. This step ensures you can safely and effectively remove the old valve without causing damage to the surrounding area.
Put on gloves and protective eyewear to safeguard yourself from sharp edges or debris. Use an adjustable wrench or pliers to grip the valve body. Twist the valve back and forth while pulling it away from the wall. If the valve is stuck, apply penetrating oil to loosen any corrosion or mineral buildup.
Once the valve is loose, carefully pull it out of the wall. Be cautious not to damage the surrounding plumbing or wall structure. If the valve is soldered in place, you may need to use a torch to desolder the connections before removal. After removing the old valve, inspect the area for any remaining debris or old adhesive.
Clean the space thoroughly to prepare for the installation of the new Pfister shower valve. Ensure all surfaces are dry and free of obstructions to guarantee a proper fit and seal for the new valve.

Installing the New Pfister Shower Valve
Mount the new Pfister shower valve by aligning it with the existing plumbing connections. Secure it using the provided mounting hardware, ensuring a snug fit. Tighten all connections firmly but avoid over-tightening to prevent damage. Connect the water supply lines to the appropriate ports, ensuring they are tightly sealed. Finally, test the valve by slowly turning on the water supply to check for leaks and proper function.
5.1. Mounting the New Valve
Begin by preparing the mounting area for the new Pfister shower valve. Ensure the surface is clean and free of debris. Align the valve with the existing plumbing connections, making sure it fits snugly into the designated space. Use the provided mounting hardware, such as screws or clips, to secure the valve to the wall or shower enclosure. Tighten the hardware firmly but avoid over-tightening, which could damage the valve or surrounding material.
Next, double-check the alignment to ensure the valve is level and properly positioned. If necessary, adjust the mounting hardware slightly to achieve the correct placement. Once the valve is securely mounted, proceed to connect the water supply lines and other components. Always refer to the manufacturer’s instructions for specific mounting requirements, as they may vary depending on the model.
After mounting, inspect the area around the valve to ensure there are no gaps or misalignments. Proper mounting is critical for the valve’s functionality and longevity. If you encounter any issues, consult the installation manual or contact a professional for assistance. This step ensures a stable foundation for the rest of the installation process.
5.2. Connecting the Water Supply Lines
After mounting the new Pfister shower valve, the next step is to connect the water supply lines. Start by ensuring the water supply is turned off to prevent any water flow during the connection process. Locate the shut-off valves for both the hot and cold water lines and turn them clockwise until they stop. Open the faucet to drain any remaining water in the lines.
Identify the correct ports on the Pfister shower valve for the hot and cold water connections. Typically, the hot water line connects to the port marked ‘H’ and the cold water line to the port marked ‘C.’ Use Teflon tape to create a watertight seal by wrapping it around the threads of the valve ports. Attach the supply lines to the respective ports and tighten them securely using an adjustable wrench to avoid stripping the threads.
Once the connections are made, slowly turn the water supply back on and inspect the connections for any signs of leaks. If leaks are detected, tighten the connections further or add another layer of Teflon tape; Be cautious not to apply excessive force to avoid damaging the valve or supply lines.
Finally, ensure that all connections are secure and there are no leaks before proceeding to the next steps of the installation. Properly connecting the water supply lines is crucial for the functionality and longevity of the Pfister shower valve.

Installing the Shower Handle and Trim
Installing the shower handle and trim is the final step in completing the Pfister shower valve installation. Start by gathering the necessary components, including the handle, trim kit, and any screws or clips provided with the Pfister shower valve.
First, attach the handle to the valve stem. Most Pfister handles are designed to fit securely onto the stem and are held in place with screws. Use an Allen wrench to tighten the screws firmly, ensuring the handle is aligned properly. Be careful not to overtighten, as this could damage the stem or handle.
Next, install the trim kit, which covers the rough-in valve and provides a finished look. The trim kit typically snaps into place or is secured with screws. Follow the manufacturer’s instructions for specific mounting requirements. Ensure the trim is evenly aligned and securely fastened to the wall.
Once the handle and trim are installed, test the handle by turning it to ensure smooth operation and proper water flow. If any adjustments are needed, refer to the Pfister installation guide for fine-tuning instructions. This step completes the installation process, leaving you with a fully functional and stylish shower system.