

The Honeywell RTH6580WF is a Wi-Fi-enabled, 7-day programmable thermostat designed for smart home integration and energy efficiency. It offers remote access via the Honeywell Home app.
With a user-friendly interface and customizable scheduling, it ensures optimal heating and cooling control. Compatible with various HVAC systems, it provides flexible temperature management for enhanced comfort.
1.1 Overview of the Honeywell RTH6580WF Model
The Honeywell RTH6580WF is a Wi-Fi-enabled, 7-day programmable thermostat designed for compatibility with various HVAC systems, including forced air, hydronic, and heat pump systems. It requires a 24 VAC common wire for operation and supports remote access through the Honeywell Home app, offering enhanced control and energy efficiency for smart home integration.
1.2 Key Features of the Wi-Fi Programmable Thermostat
The Honeywell RTH6580WF features a 7-day programmable schedule, geofencing, and smart home integration. It offers energy usage monitoring, customizable temperature settings, and remote access via the Honeywell Home app. With a color-coded interface and voice command compatibility, it ensures energy efficiency and seamless control over heating and cooling systems, making it a versatile choice for modern homes.

System Compatibility and Requirements
The Honeywell RTH6580WF is compatible with 24 VAC HVAC systems, including forced air, hydronic, heat pump, oil, gas, and electric systems, but not millivolt systems.
2.1 Compatible HVAC Systems (Forced Air, Hydronic, Heat Pump, etc.)
The Honeywell RTH6580WF is compatible with various HVAC systems, including forced air, hydronic, heat pump, oil, gas, and electric systems. It supports multi-stage heating and cooling systems, offering flexibility for different setups. However, it is not compatible with millivolt systems. This wide compatibility ensures it can integrate with most standard home heating and cooling configurations, providing reliable performance across diverse installations.
2.2 Voltage and Wiring Requirements (24 VAC Common Wire)
The Honeywell RTH6580WF requires a 24 VAC power supply and a common wire (C-wire) for proper operation. This ensures reliable functionality, including Wi-Fi connectivity and smart features. The thermostat is compatible with standard 24 VAC HVAC systems but not millivolt systems. Proper wiring is essential to avoid malfunctions and ensure energy efficiency, as specified in the installation manual.

Tools and Materials Needed for Installation
- Small screwdriver for wiring connections
- Wire strippers for preparing wires
- Pliers for gripping small components
- Drill and wall anchors for mounting
- Thermostat unit and mounting hardware
- C-wire adapter (if required)
- Installation manual for guidance
3.1 Essential Tools (Screwdriver, Wire Strippers, etc.)
To install the Honeywell RTH6580WF thermostat, you’ll need a small screwdriver for wiring connections and removing the old thermostat. Wire strippers are essential for preparing wires, while pliers may be handy for gripping small components. A drill and wall anchors are required for mounting the thermostat securely. Ensure all tools are readily available to streamline the installation process.
3.2 Materials Required for Mounting and Wiring
The Honeywell RTH6580WF requires a wall plate, mounting screws, and plastic anchors for secure installation. A 24 VAC common wire is necessary for power. Wire connectors and a C-wire adapter may be needed if your system lacks a common wire. Ensure all materials are compatible with your HVAC system to avoid installation issues.
Pre-Installation Steps
Begin by shutting off power to the HVAC system at the circuit breaker. Ensure the system is cool before proceeding with thermostat removal and preparation.
4.1 Shutting Off Power to the HVAC System
Before starting the installation, locate the circuit breaker controlling your HVAC system and switch it off. Ensure the system is completely powered down to avoid any electrical hazards. Verify the system is cool or inactive to prevent damage during thermostat removal.
Never rely on the furnace or cooling system’s switch alone; always use the circuit breaker for complete power cutoff. This step ensures safety and prevents accidental activation during installation.
4.2 Removing the Old Thermostat
Start by gently pulling the old thermostat away from the wall to access the wires. Be careful not to pull too hard, as this could damage the wires or the wall. Use a small screwdriver to remove any screws holding the thermostat in place.
Once removed, carefully disconnect the wires from the old thermostat. Label each wire with its corresponding terminal to ensure proper reconnection later. This step is crucial for a smooth installation of the new Honeywell RTH6580WF thermostat.

Installation Process
The Honeywell RTH6580WF installation involves mounting the thermostat, connecting wires, and completing physical setup. Follow the step-by-step guide for a seamless process. Ensure power is off and a common wire is available for proper functionality. Use a screwdriver and wire strippers for secure connections. Refer to the manual for detailed wiring instructions.
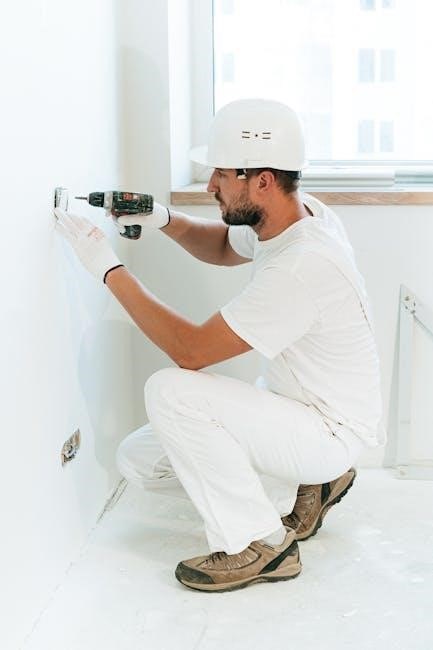
5.1 Mounting the Thermostat on the Wall
Mount the Honeywell RTH6580WF by first ensuring the wall is level and clean. Attach the mounting plate using screws or wall anchors. Gently snap the thermostat onto the plate, ensuring it clicks securely. Use a screwdriver for tightening screws if necessary. Avoid over-tightening to prevent damage. Ensure proper alignment for accurate temperature sensing and smooth operation. Follow the manual for precise mounting instructions.
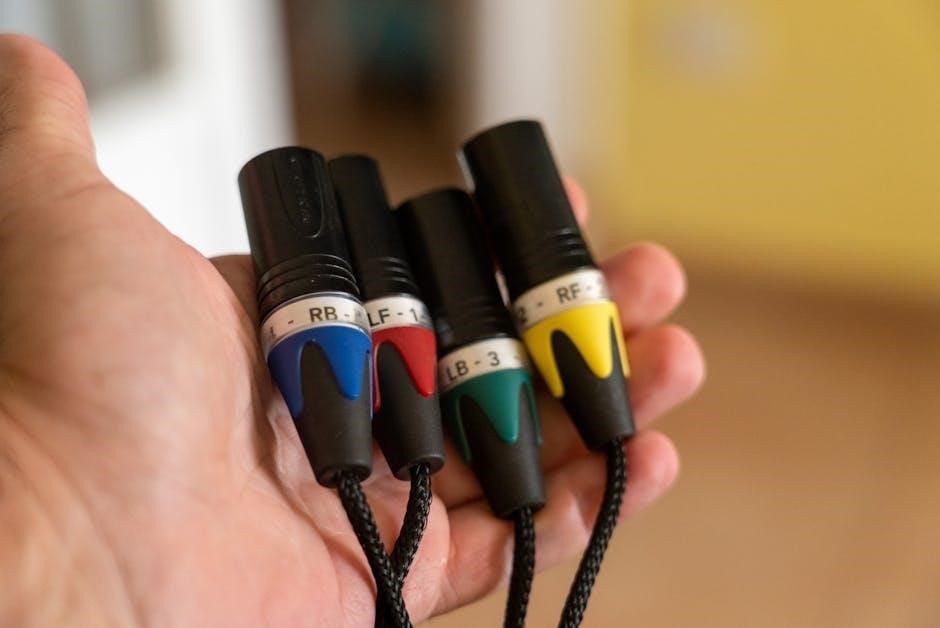
5.2 Connecting the Wires to the Thermostat
Connect the wires to the Honeywell RTH6580WF by matching each wire to the correct terminal. Refer to the wiring diagram in the manual. Ensure the 24 VAC common wire is securely connected to the “C” terminal. Use wire strippers for clean connections. Tighten all screws firmly but avoid overtightening. Double-check connections to prevent power issues. Turn the power back on after wiring is complete. Proceed with caution to avoid electrical hazards.
5.3 Completing the Physical Installation
Mount the thermostat securely on the wall, ensuring it is level. Tighten all screws firmly. Restore power to the HVAC system and test the thermostat by adjusting temperatures. Verify all wires are connected properly and the display lights up. Double-check connections to avoid issues. Ensure the thermostat is powered on and functioning correctly before proceeding to configuration. This completes the physical installation process.
Initial Setup and Configuration
After installation, set the clock and date, then connect the thermostat to your Wi-Fi network. Register the device for remote access through the Honeywell Home app.
6.1 Setting the Clock and Date
Press the “Set Clock” button, then use the up/down arrows to select the correct time and date. Ensure accuracy for proper schedule execution. Save settings when done.
6.2 Connecting to Wi-Fi Network
During initial setup, select your Wi-Fi network from the available list. Enter the password using the on-screen keyboard. Ensure the thermostat displays a confirmation message once connected. For remote access, register the device via the Honeywell Home app after successful Wi-Fi connection.
6.3 Registering the Thermostat for Remote Access
After connecting to Wi-Fi, download the Honeywell Home app. Create an account or log in if existing. To register, locate the Thermostat ID on the device or packaging, then enter it in the app. Registration enables remote control and monitoring via smartphone or tablet, ensuring full access to thermostat features anytime, anywhere.
Programming the Thermostat
The Honeywell RTH6580WF allows users to program custom temperature settings for each day of the week, ensuring energy efficiency and comfort by adapting to your schedule.
7.1 Creating a Customizable Weekly Schedule
The Honeywell RTH6580WF allows users to program a 7-day schedule, enabling different temperature settings for wake, leave, return, and sleep periods. This customization ensures energy efficiency and comfort by adapting to your lifestyle. The thermostat’s interface makes it easy to adjust settings, providing flexibility to modify schedules as needed for optimal performance and energy savings.
7.2 Setting Temperature Preferences for Different Periods
The Honeywell RTH6580WF allows you to set specific temperature preferences for different times of the day, optimizing comfort and energy use. Users can adjust settings for wake, leave, return, and sleep periods, ensuring the system runs efficiently. The thermostat’s interface simplifies this process, enabling seamless adjustments to match your daily routine and preferences for optimal performance.

Advanced Features and Energy-Saving Options
The Honeywell RTH6580WF offers geofencing, smart home integration, and energy usage reports to optimize efficiency. Customizable settings and adaptive learning enhance energy savings and comfort seamlessly.
8.1 Geofencing and Smart Home Integration
The Honeywell RTH6580WF supports geofencing, which adjusts temperatures based on your location. It integrates with smart home systems like Amazon Alexa and Google Home, allowing voice control and seamless automation. This feature enhances convenience and energy efficiency by optimizing heating and cooling usage when you’re away or arriving home. It ensures a comfortable environment while saving energy.
8.2 Energy Usage Monitoring and Reports
The Honeywell RTH6580WF provides detailed energy usage monitoring through the Honeywell Home app. It generates reports on heating and cooling consumption, helping you identify energy-saving opportunities. This feature allows you to track your energy use patterns and optimize your settings for greater efficiency, ensuring you save money while maintaining comfort. Regular updates and insights help you make informed decisions.
Troubleshooting Common Issues
Common issues include Wi-Fi disconnections, incorrect wiring, or power outages. Check the power supply, ensure proper wire connections, and verify Wi-Fi settings for resolution.
9.1 Resolving Wi-Fi Connectivity Problems
To resolve Wi-Fi issues, ensure your router is functioning and the thermostat is connected to the correct network. Restart the router and thermostat, then check for firmware updates. Verify the Wi-Fi password and ensure the thermostat is within range. If issues persist, reset the thermostat to factory settings or consult the manual for advanced troubleshooting steps.
9.2 Addressing Wiring or Power Issues
Ensure the power to the HVAC system is off before troubleshooting. Check wiring connections for security and correctness, especially the C-wire. Verify the circuit breaker or fuse isn’t tripped. If the thermostat’s display doesn’t turn on, check the power supply and wiring; Consult a professional if issues persist after verifying all connections and power sources.
Maintenance and Upkeep
Regular cleaning prevents dust buildup, ensuring optimal performance. Check for firmware updates regularly to maintain functionality and security.
10.1 Cleaning the Thermostat
Clean the Honeywell RTH6580WF thermostat regularly to prevent dust buildup. Use a soft, dry cloth to wipe the display and exterior. Avoid harsh chemicals or liquids, as they may damage the device. Ensure the thermostat is powered off before cleaning for safety. Regular maintenance ensures optimal performance and extends the product’s lifespan.
10.2 Updating Software and Firmware
Regular software and firmware updates are essential for optimal performance and security. Use the Honeywell Home app to check for updates. Ensure the thermostat is connected to Wi-Fi and follow in-app instructions to download and install updates. Never interrupt the update process to avoid system issues. Updated software enhances functionality, fixes bugs, and improves compatibility with smart home systems.
The Honeywell RTH6580WF thermostat offers a seamless blend of smart features, energy efficiency, and user-friendly design. Proper installation and configuration ensure optimal performance and comfort. Regular updates and maintenance will keep your system running smoothly, providing long-term savings and convenience for your home.
11.1 Summary of Key Installation Steps
Install the Honeywell RTH6580WF by first shutting off power to your HVAC system. Remove the old thermostat and prepare the wiring. Mount the new thermostat securely, ensuring all wires are correctly connected. Set the clock and date, then connect to your Wi-Fi network; Register the device for remote access and program your schedule for optimal performance.
11.2 Final Tips for Optimizing Thermostat Performance
Regularly clean the thermostat to ensure accurate temperature readings. Update software and firmware for the latest features. Use geofencing to optimize heating/cooling based on your location. Analyze energy usage reports to identify savings opportunities. Schedule maintenance checks to ensure system efficiency. Adjust temperature settings during peak hours to reduce energy consumption and extend equipment lifespan.
Additional Resources
Download the Honeywell RTH6580WF manual PDF, quickstart guide, and installation instructions from Honeywell’s official website. Visit their support page for FAQs, videos, and troubleshooting assistance.
12.1 Downloading the Honeywell RTH6580WF Manual PDF
To download the Honeywell RTH6580WF manual PDF, visit Honeywell’s official website. Navigate to the support section, select your model, and click on the manual link. Ensure you have Adobe Acrobat Reader installed to view the PDF. The manual includes installation guides, troubleshooting tips, and detailed instructions for optimal thermostat operation.
- Visit Honeywell’s official website.
- Go to the “Support” or “Manuals” section.
- Search for “RTH6580WF” and download the PDF.
12.2 Accessing Online Support and FAQs
For additional assistance, visit Honeywell’s official website and navigate to the “Support” section. Here, you’ll find FAQs, troubleshooting guides, and installation videos specific to the RTH6580WF model. Use the search bar to locate detailed answers to common questions or download resources directly. This ensures you have comprehensive support for installation, configuration, and maintenance.
- Visit Honeywell’s official website.
- Navigate to the “Support” section.
- Explore FAQs, troubleshooting, and video guides.